
Sharing and export
Tags
Categorising and filtering recordings
Tags are labels you attach to recordings so you can group and filter them in the Library.
Tag a recording
- Open a recording (the tags sit with its details on the Actions tab), or find its card in the Library.
- Click + Tags.
- Pick one or more tags from the list. Click a tag again to remove it.
The list only shows existing tags. To make a new tag, use the tag manager below. If you have no tags yet, the list offers a Create Tag button that opens it.
Manage tags
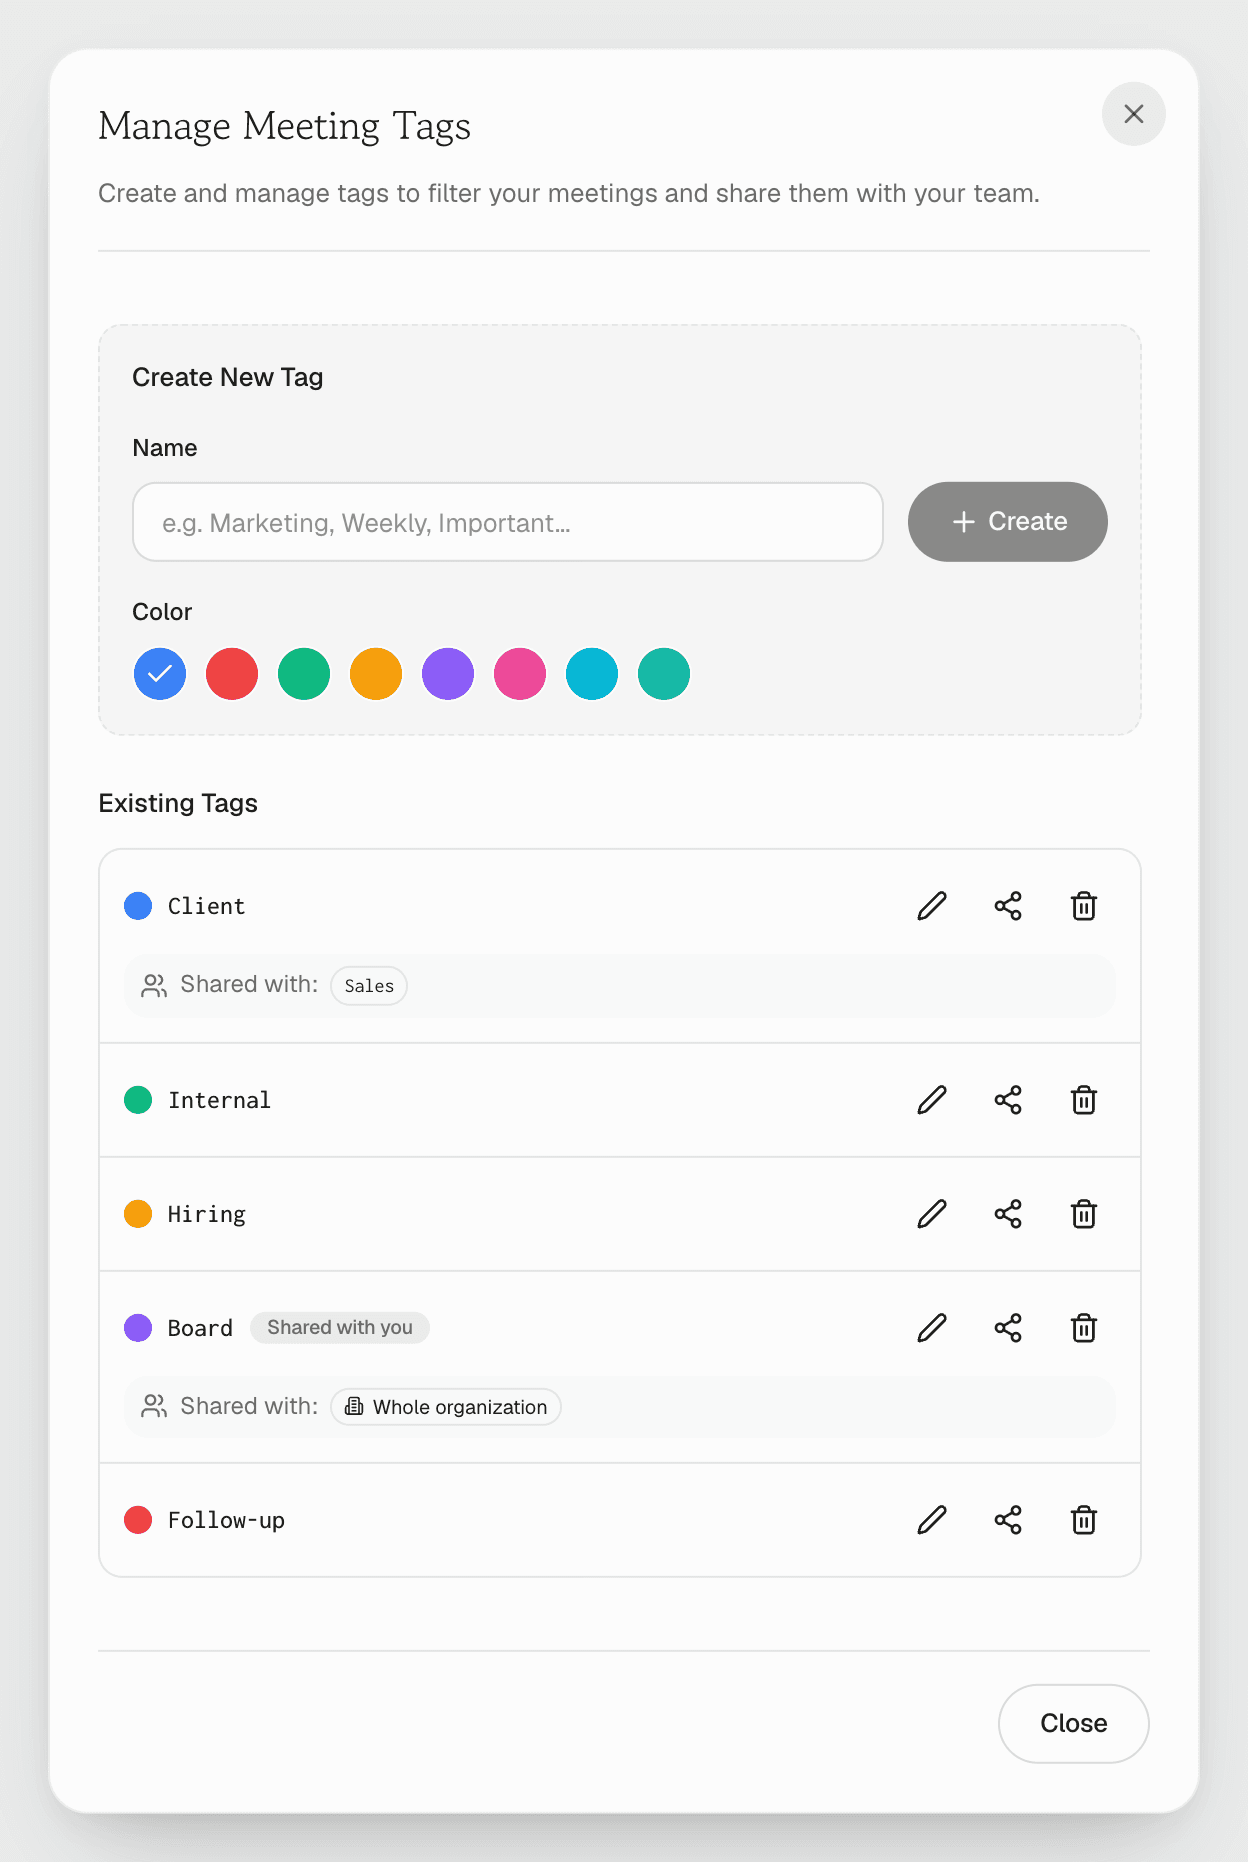 The Manage Meeting Tags dialog with a Create New Tag form and a list of coloured tags with edit, share, and delete icons
Open Manage Meeting Tags from the gear icon in the + Tags list, or from Manage Tags at the bottom of the tag filter in the Library. There you can:
- Create a tag with a name and a colour
- Edit the name or colour of an existing tag
- Delete a tag (it is removed from every recording)
Tags that someone else shared with you are marked Shared with you.
Sharing tags
By default a tag is yours alone. On Enterprise plans you can share it so your team uses the same categories. Click the share icon next to a tag and choose:
- Whole organization: everyone in your organization sees and can apply the tag
- a team: only members of that team
Filtering
In the Library, filter by one or more tags with the All tags filter. You can also exclude tags to hide recordings you do not want to see. The tag filter is only available on My recordings.