
Recording
Recording a meeting
Starting, controlling, and stopping a recording on desktop and mobile
Recording happens in Caven Studio or the mobile app. Install and sign into the right app first. The web app does not record itself, but it can start a recording in Caven Studio for you.
Online meetings: Caven Studio
There are four ways to start a Caven Studio recording:
- Start it yourself in the recorder.
- A calendar pop-up that appears when a scheduled meeting begins.
- A call pop-up that appears when you join a Teams, Zoom, Google Meet, Slack huddle or Webex call.
- Start recording in the Caven Suite sidebar.
Caven Studio can also offer to record when it hears meeting audio, see the audio pop-up below.
1. Start it yourself
- Open the recorder: click the Caven icon in the menu bar (macOS) or the system tray (Windows). The bar shows Ready to record.
- Choose what to capture: Screen (a whole display), Window (one app window), or Audio for no video.
- Click Record.
If a calendar meeting is going on, a Linked meeting card shows which meeting the recording will be linked to. Click Choose another meeting to pick a different one. Speaker recognition uses the participants of the linked meeting.
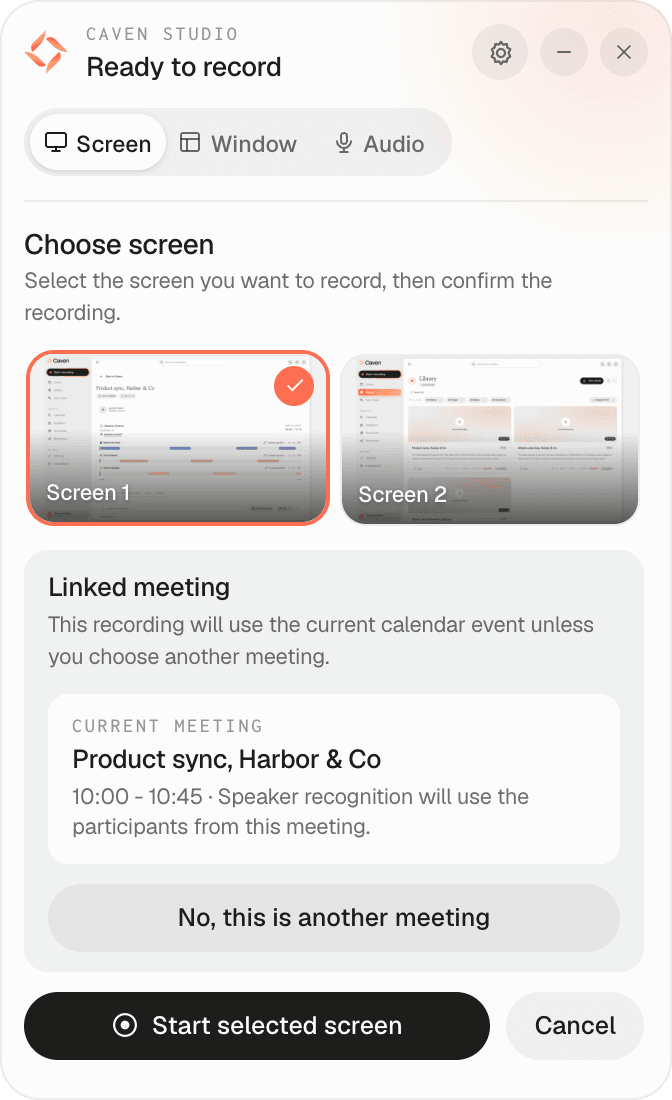 The Caven Studio recorder ready to record, with Screen, Window and Audio, the Record button and the Linked meeting card
2. From a calendar pop-up
With a calendar connected and the calendar pop-up turned on, Caven Studio watches your schedule and asks Record this meeting? at the meeting's start time, or a set number of minutes before, depending on your setting.
- Click Record to start right away.
- Click Options to first pick Screen, Window or Audio and which screen to record, then click Start Recording. From there you can also choose Snooze to be asked again later.
- Click Not now to dismiss it.
- If the event has a meeting link, Join meeting opens it.
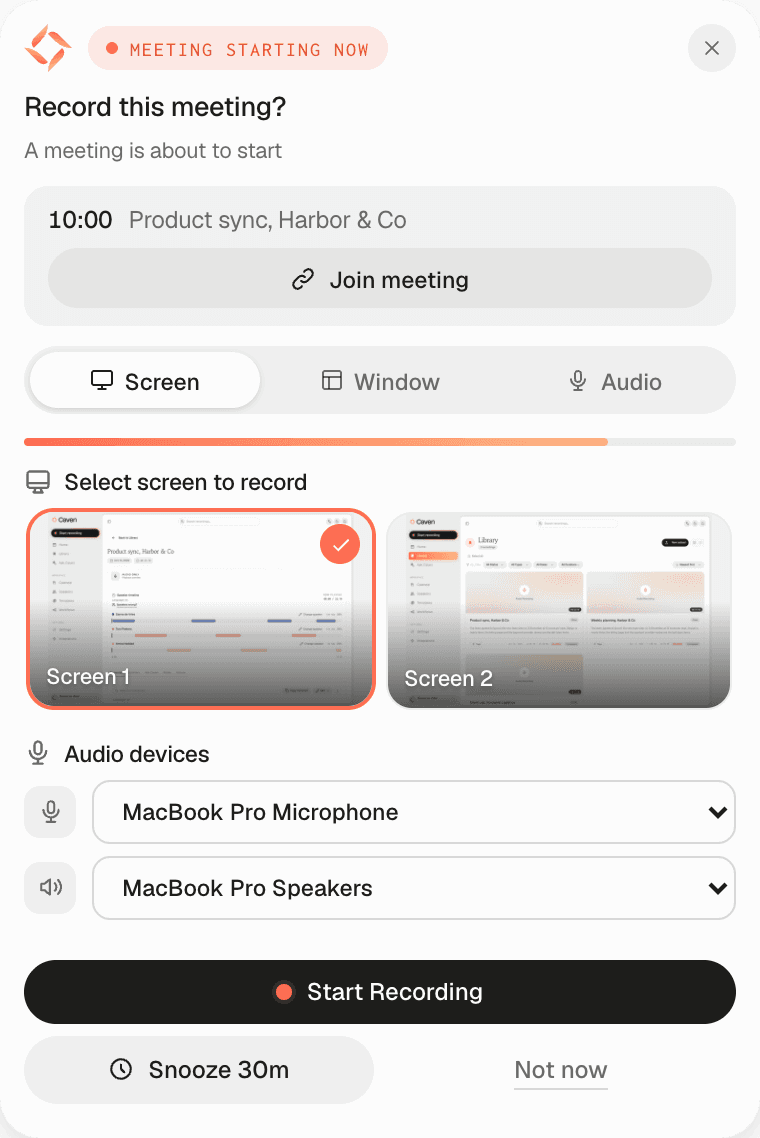 The calendar pop-up at the start of a meeting, with the screen choice and the Start Recording, Snooze and Not now buttons
The recording is linked to that calendar event, so the meeting title and attendees carry over.
3. When you join a call
On macOS and Windows, Caven Studio notices when you join a call in Microsoft Teams, Zoom, Google Meet, a Slack huddle or Webex. As soon as you are on the call's join screen, it shows a small pop-up such as Microsoft Teams call detected, with the meeting name and the screen and microphone it will use. Click Record to start, Options to pick a screen or mode first, or Not now.
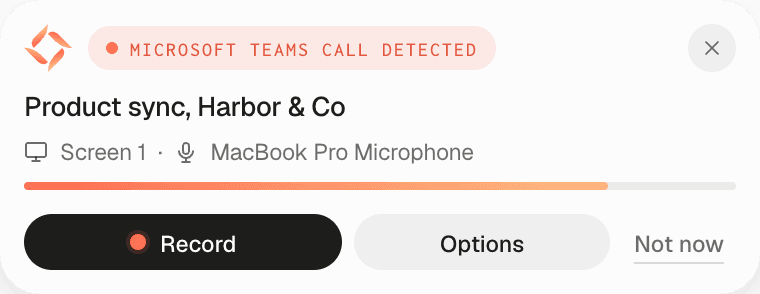 The pop-up "Microsoft Teams call detected" with the meeting name and the Record, Options and Not now buttons
Each time you join a call, Caven asks again. The recording is named after the call, or after the calendar event when the call matches one. You can turn this pop-up off in Caven Studio's settings, under Meetings, see Desktop app settings.
4. From the Caven Suite
Click Start recording in the sidebar of the web app. Your browser asks whether it may open Caven Studio: click Open. Caven Studio starts the recording and shows a notification; you stop it from the recorder bar as usual. Caven Studio must be installed and signed in with the same account.
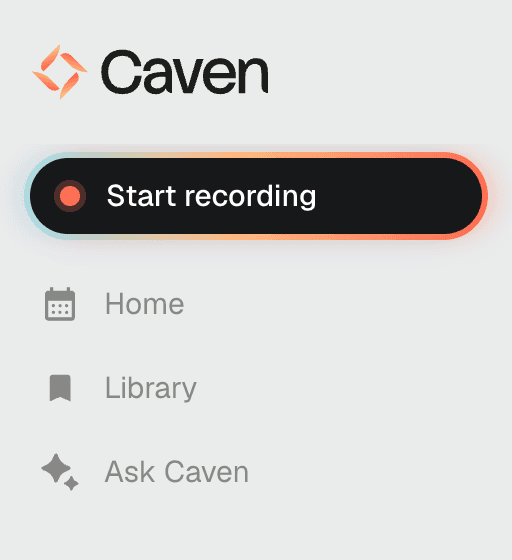 The Caven Suite sidebar with the Start recording button
From an audio pop-up
If the audio trigger is on, Caven Studio shows an Audio detected pop-up when it hears meeting audio on your device, offering to start a recording. Click Start Recording, Snooze (the button shows how many minutes, for example Snooze 5m) or Not now. Turn it on and tune it under Desktop app settings.
During the recording
The recorder bar stays on top of your other windows. It shows the timer and these controls:
- Notes: opens Recording notes. Type notes as the meeting goes. They are saved with the recording and appear in the Notes tab in the web app.
- Pause / resume
- Stop (the red button)
The bar also shows two meters: one for your microphone and one for computer sound (system audio, the other participants). Both turn coral while sound comes in, so you can confirm both are being picked up.
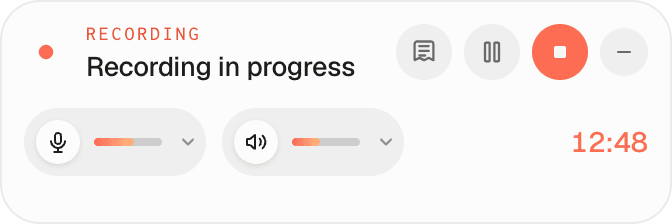 The recorder during a recording: the timer, the notes, pause and stop buttons, and the microphone and system audio meters
- Click the microphone meter to mute or unmute your microphone in the recording.
- Click the small arrow next to it (Choose microphone) to open the Audio device picker and switch to another microphone. The recording switches immediately, without stopping.
- Click the computer-sound meter to pick another system-audio source the same way.
- A third indicator shows what is being recorded. Click it to switch to another screen or window mid-recording.
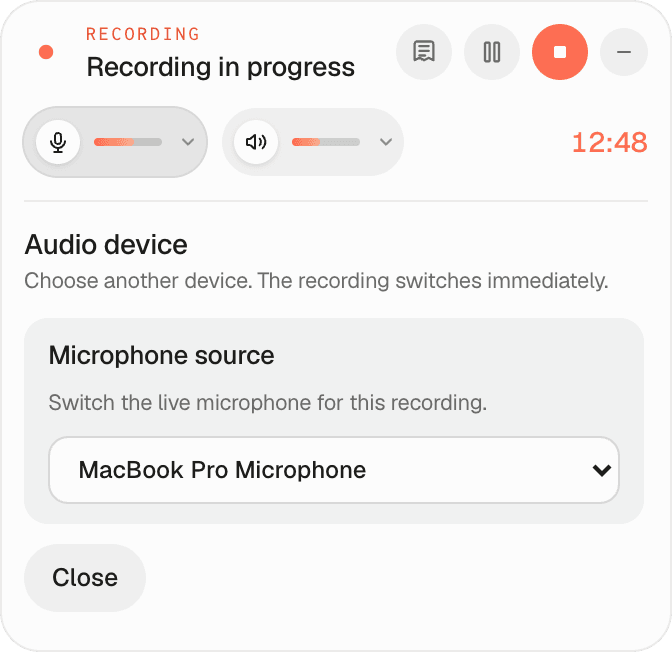 The Audio device picker, opened from the arrow next to the microphone meter
During a call, Caven follows your mute button: when you mute yourself in the meeting app, the bar shows Muted in Zoom: your microphone is not recorded (with the name of your app). Click it to record your microphone anyway. Caven can also read who is speaking from the meeting app and use those names in the transcript. Both can be turned off under Meetings in Caven Studio's settings.
When you leave the call
If you leave the call you are recording, Caven Studio asks You left the meeting with Stop recording and Keep recording, so a recording does not keep running after the meeting.
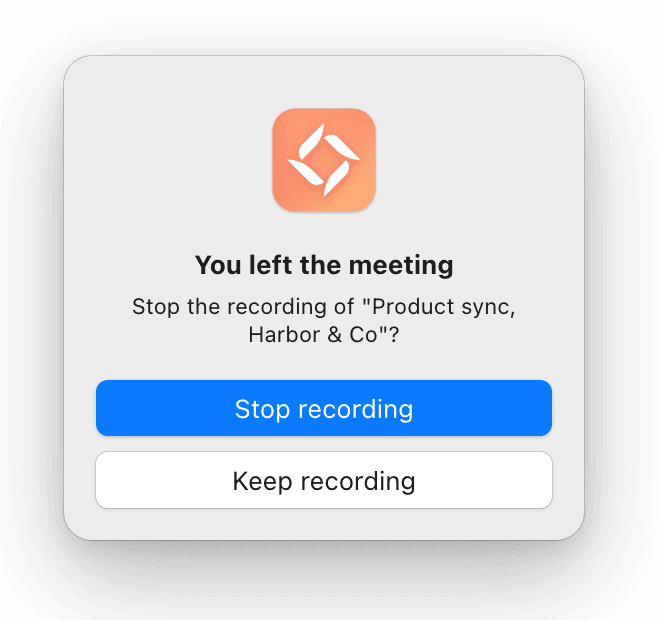 The pop-up "You left the meeting" with Stop recording and Keep recording
After you stop
The recording uploads to the web app automatically. Caven sends the audio first, so the transcript and summary are made while the video is still uploading. Until then the recording page shows Video is still uploading…. When the upload is done, the recording opens in the Caven Suite, and the local file is removed from your computer.
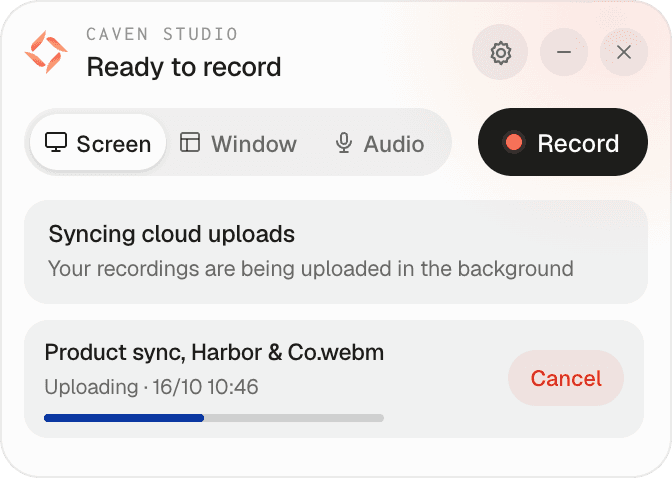 Caven Studio after stopping, with the upload progress
A recording without a calendar event or call title gets the date and time as its name, for example Meeting 6 Oct 2026 14h05. The first summary then gives it a title that describes the topic. When the recording is linked to a calendar event or a call, it takes that title instead.
In-person meetings: mobile
- Open the Caven mobile app.
- Tap the red button to start recording.
- Put the phone on the table. Recording continues while the screen is locked or you switch apps.
- Tap Pause to pause. Tap Stop recording when the meeting ends. The recording uploads automatically.
If something interrupts the recording, such as an incoming call, Caven resumes on its own as soon as the microphone is free. You cannot start a recording during a phone call. See Mobile app for linking a recording to a calendar meeting, interruptions and the other details.
Turn off Battery Saver / Low Power Mode first. With it on, the system can suspend the app and the recording may stop. The app warns you if it detects Low Power Mode.
What happens next
The upload is transcribed and, if auto-summarize is on, summarized. Everything lands in Library. Open the recording to name the speakers; naming them does not hold up the transcript or summary.