
Getting started
Account & onboarding
How Caven accounts are created, every step of the setup wizard, and the first launch of Caven Studio
This page describes account creation, the setup wizard in the web app and the first-launch setup of Caven Studio in full, including the parts that only apply to organization admins. For a fast path to your first recording, see Quick start.
Creating an account
There are three ways in:
- An invitation link. This is how most people join. Whoever manages your organization's Caven subscription sends it. The link carries an invitation code that is filled in for you.
- A free pilot. A new organization can start a free pilot from the Caven website. It lasts 14 days, gives you and your colleagues every Enterprise feature, and needs no payment details.
- Buying a plan. A new organization can also buy Pro or Enterprise from the Caven website. You create your account first, then pay securely via Stripe and choose the number of seats.
See Plans & billing for what happens when a pilot ends and how seats work.
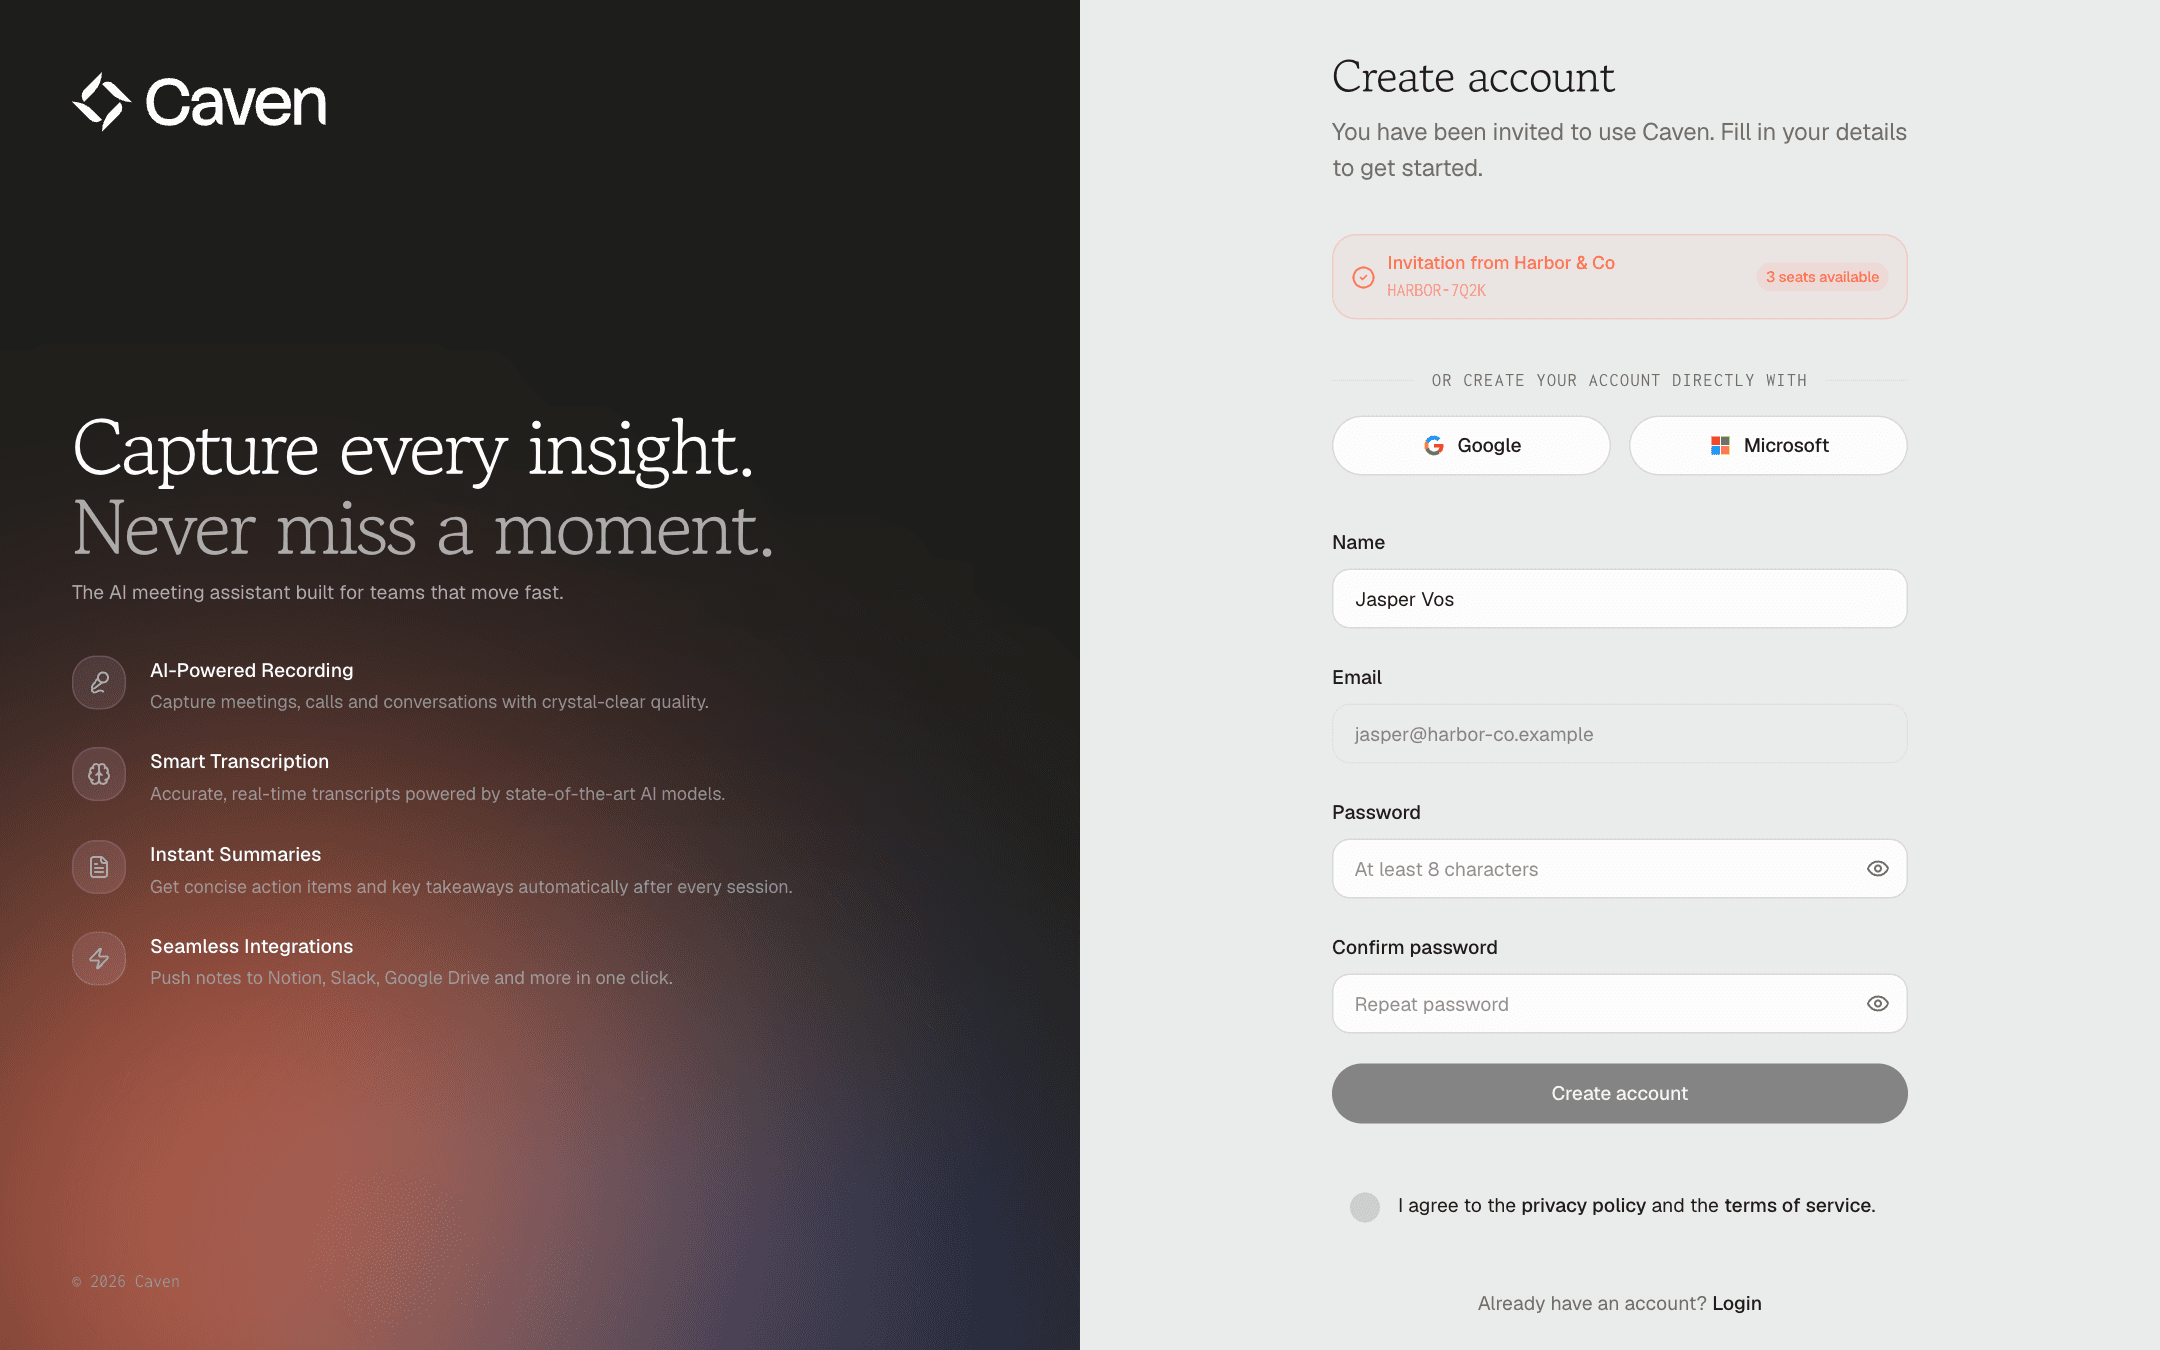 The Caven registration page for an invited user, with the invitation badge, the locked email address and the Google and Microsoft buttons
On the registration screen:
- Invitation. With an invitation link, a badge at the top shows which organization invited you and how many free seats it has left.
- Email and password. Enter your name and a password of at least 8 characters, and accept the privacy policy and terms of service. A personal invitation is locked to the email address it was sent to, so that address is fixed.
- Single sign-on. If the organization has enabled Google or Microsoft SSO, those buttons appear as an alternative. If the organization requires SSO, the email and password fields are hidden and SSO is the only option. An admin can allow one or both providers. A free pilot or plan purchase always offers both buttons.
Caven sends a verification email after registration. You can request a new one if it doesn't arrive.
The setup wizard
The wizard runs once, the first time you sign in. Your name is the only required field. The steps in between have a Skip option, and the progress bar at the top lets you jump between steps. You can also skip the whole wizard with Skip at the top; the Home page then shows a reminder to complete your account settings. Each setting also lives somewhere in Settings or Organization afterwards.
The steps you see depend on your role:
- An invited user gets seven steps: Language, Welcome, Profile, AI, Security, Calendar, Download.
- An admin setting up a new organization also gets a Company details step after Profile.
- An admin setting up an Enterprise organization gets Organization policies in place of both the AI and the Security step: Language, Welcome, Profile, Company details, Organization policies, Calendar, Download.
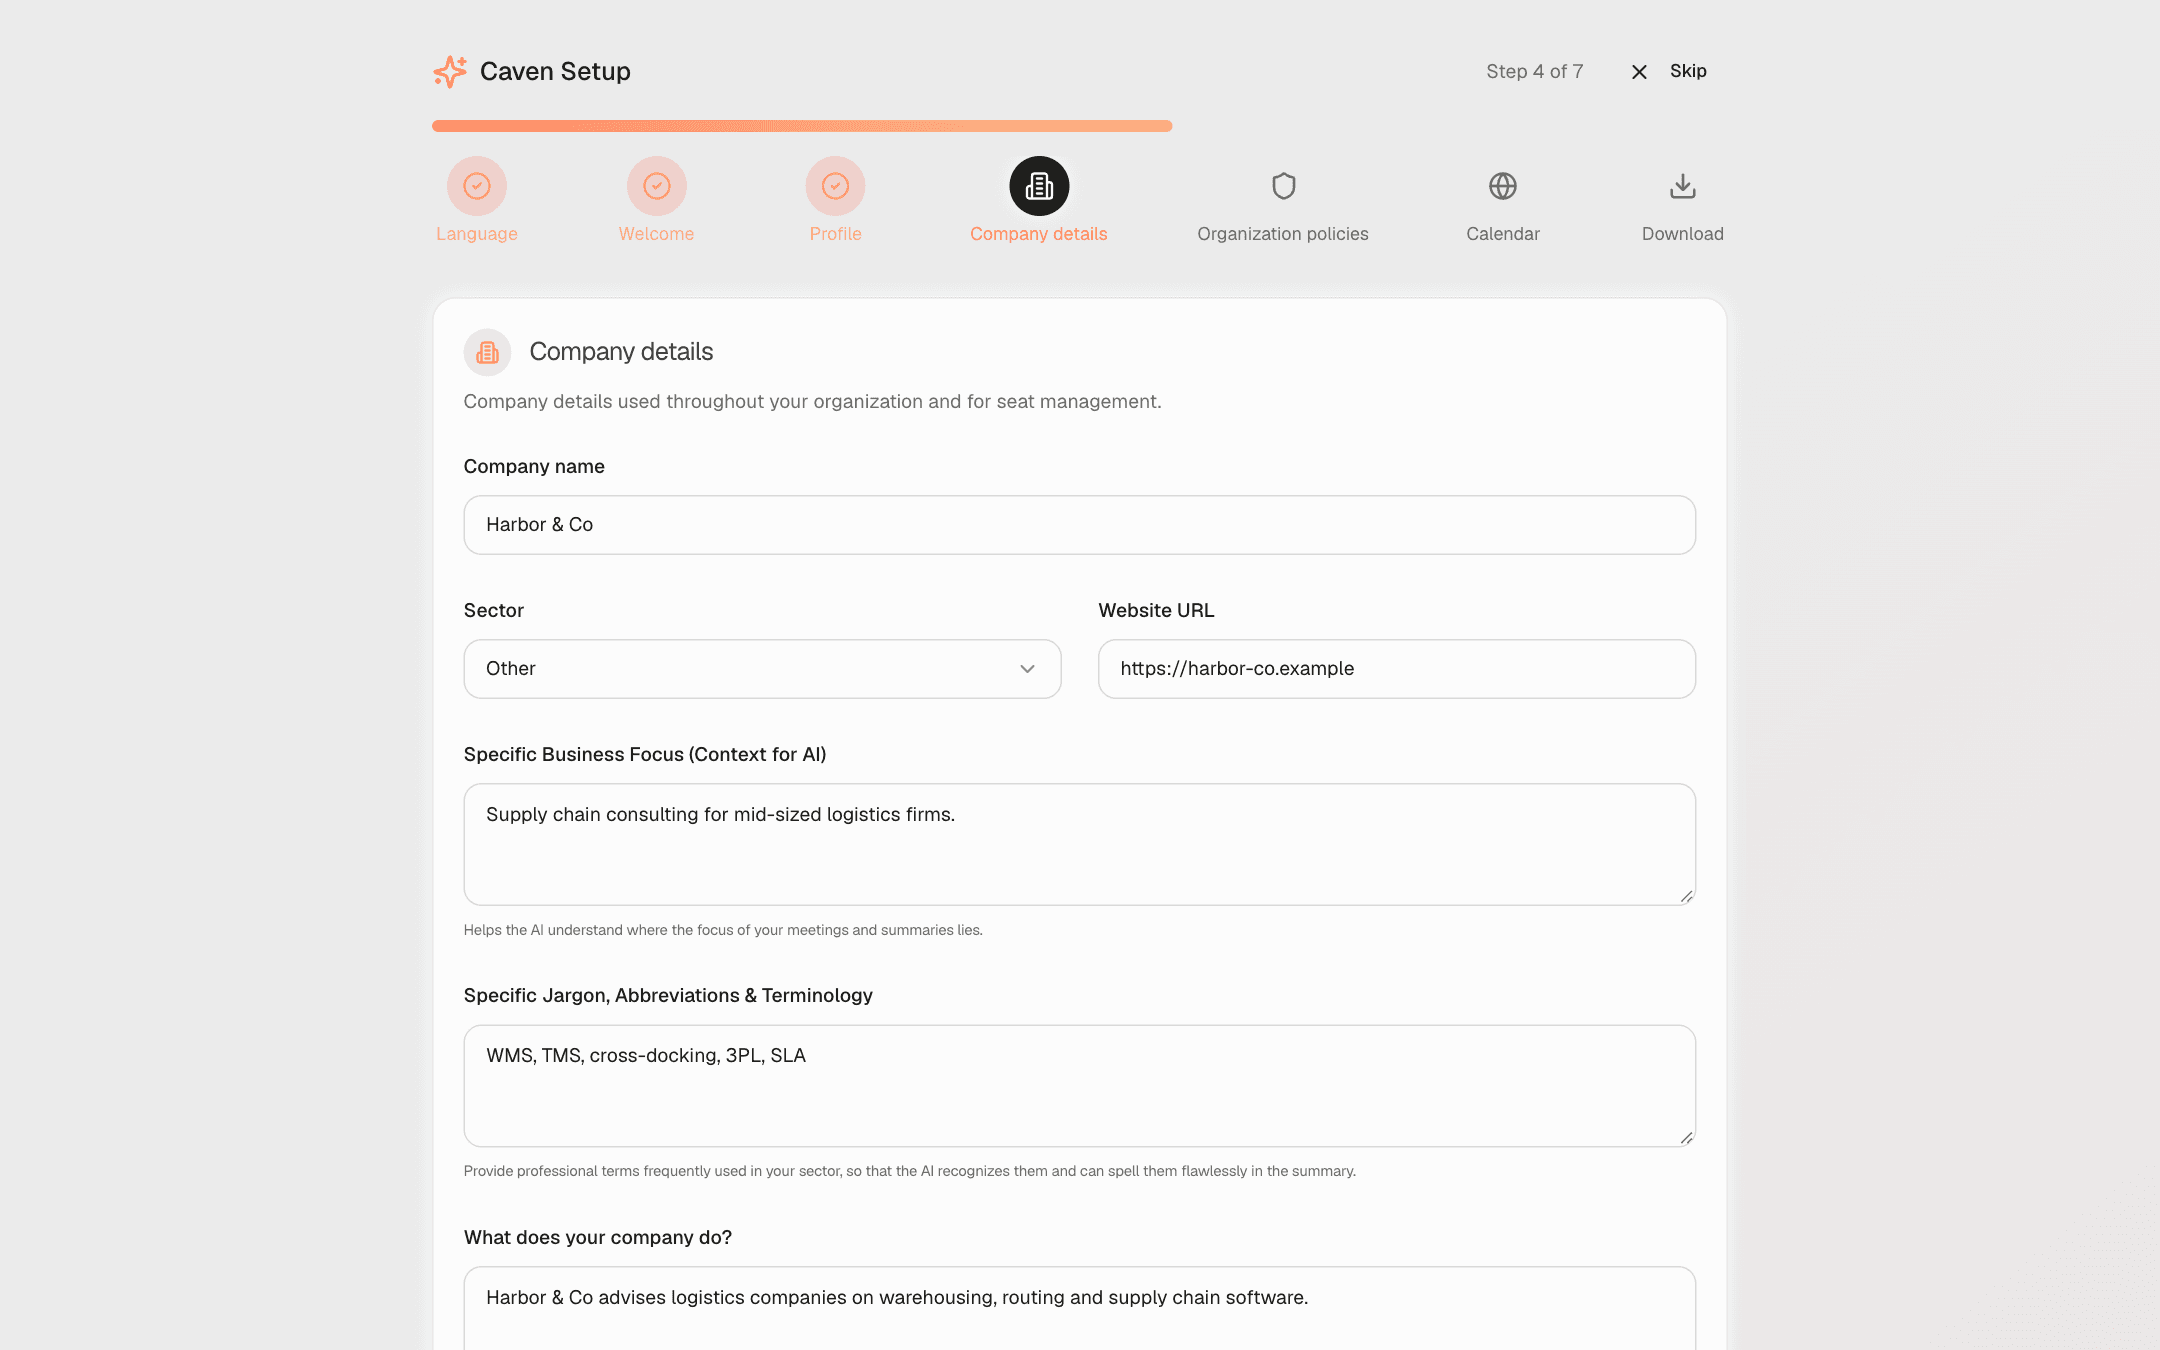 The Caven setup wizard on one of its first steps, with the progress bar and the step icons at the top
Language
Sets the language of the Caven interface. Changeable later in Settings.
Welcome
No input. It explains the split between the web app (review and manage recordings) and the desktop or mobile app (record them), and lists what the wizard will set up.
Profile
Your display name. Shown on your profile and next to your speaker segments in transcripts.
Company details
Admins setting up a new organization only. It has these fields:
- Company name and Sector. The sector is used to tailor the default summary templates. Sector is required before you can continue past this step.
- Website URL.
- Specific Business Focus (Context for AI), Specific Jargon, Abbreviations & Terminology and What does your company do?. Caven uses this context to understand your meetings better.
Fill in the website and click AI Autofill to let Caven fill in the other fields from your website. Check the result before you continue.
AI
The card is called AI & transcripts and has two toggles:
- Auto-Transcribe turns a recording into text automatically once its upload reaches the cloud.
- Auto-Summarize generates a structured summary with action items straight after transcription. It is only available when auto-transcribe is on.
For an organization admin who is not on Enterprise, these settings apply to their own account only. Organization-wide AI settings are an Enterprise feature.
Security
Set up multi-factor authentication. Choose Enable MFA, scan the QR code with an authenticator app such as Google Authenticator or Authy, and enter a 6-digit code to confirm.
This step is optional unless the organization enforces MFA. When it is enforced, the Skip buttons are hidden. If you still reach the dashboard without MFA, an Enforce MFA pop-up keeps reminding you, with a Set up MFA now button, until you have set it up.
Organization policies
Enterprise admins setting up a new organization only. It replaces the AI and Security steps, and the settings apply to everyone in the organization:
- SSO Policy: Enable SSO lets people sign in with Google or Microsoft. SSO can only be switched on with an organization email domain; personal domains such as gmail.com are blocked. Enforce SSO turns off signing in with a password. Before you can continue with SSO on, you must sign in once yourself through Google or Microsoft to prove SSO works for your account.
- Enforce MFA (Multi-Factor Authentication): everyone must set up two-factor authentication.
- Organization-wide meeting defaults: Auto-Transcribe and Auto-Summarize for everyone, each with Users may override this themselves.
Many more organization-wide settings (branding, teams, integration policy) can be set up afterwards on the Organization page.
Calendar
Connect Google Calendar or Outlook Calendar. A connected calendar lets Caven:
- detect upcoming meetings and prompt you to record them
- pre-fill the meeting title and link the recording to the calendar event
- see upcoming meetings on your Home page
- offer the invitees as name suggestions when you name speakers
If you connect a calendar, an optional Notify participants in advance setting appears. When enabled you can set Minutes before notifying and the Consent email language. Every consent email includes a link that lets a participant refuse the recording.
Skippable. You can connect a calendar later on the Integrations page.
Download
Links to Caven Studio for Windows and macOS, and to the mobile app on the iOS App Store and Google Play. Caven Studio updates itself after this first install. The Windows build shows a SmartScreen warning on first run; the step includes instructions for getting past it.
Finish with Finish & Go to Dashboard.
Reminder emails
If you leave setup unfinished, Caven sends a reminder email:
- when the wizard is still unfinished about a day after you signed up
- when you finished onboarding but made no recording within about 3 days
- when you have not installed Caven Studio about 3 days after you signed up
Setting up Caven Studio on your computer
The first time you open Caven Studio and sign in, it runs its own short setup. A stepper at the top shows four steps. There is no Skip: the setup makes sure recording works before your first real meeting, and takes about two minutes.
1. Get started
A short welcome. Click Start setup.
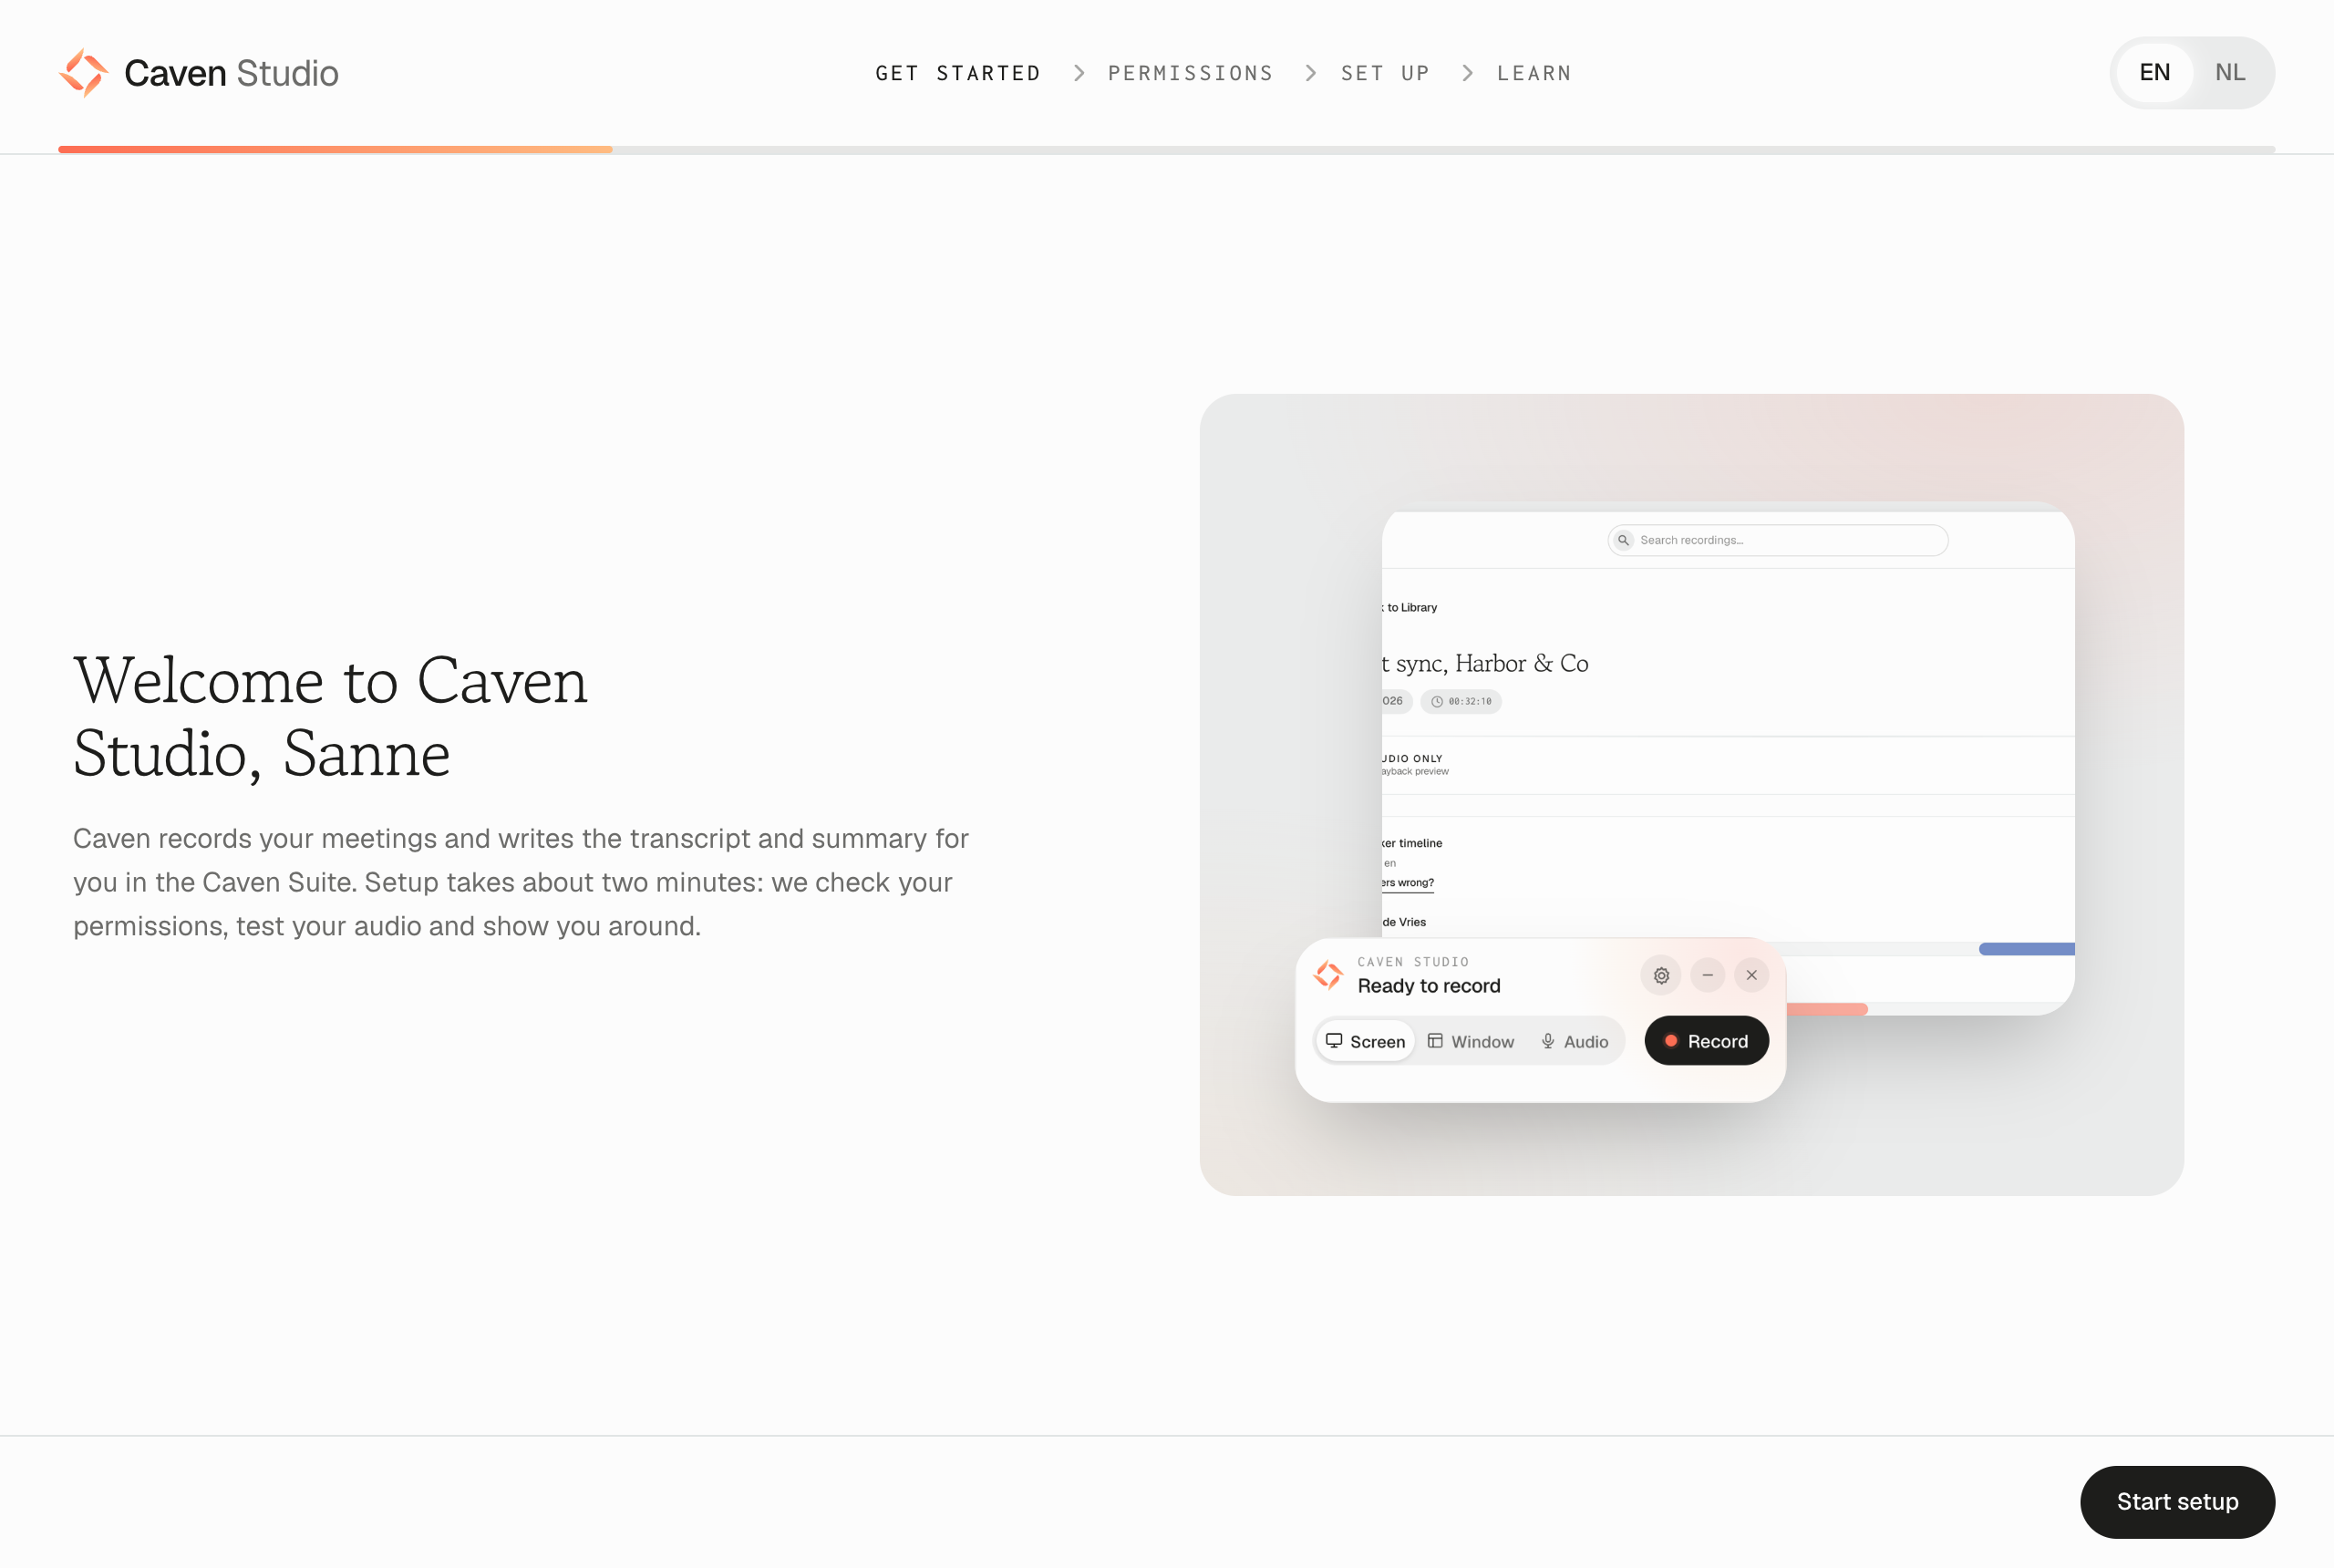 Caven Studio's first-launch setup on the Get started step, with the welcome text and the Start setup button
2. Permissions
Caven needs your microphone and the sound of your meetings. Each permission shows Allow or Open Settings, and Allowed once it is on.
- Microphone, so Caven can hear you.
- Screen and system audio (macOS), so Caven can capture the other participants in Teams, Zoom or Meet. In System Settings, turn on Caven Studio under Screen & System Audio Recording, then click Quit and reopen: macOS applies this after Caven restarts, and your progress is saved. System audio needs macOS 14.2 or later; on an older Mac Caven may only record your microphone.
- Meeting audio (Windows) needs no permission. On Windows you only allow microphone access.
- Recognize your meetings is optional: connect your calendar in the web app so Caven can offer to record when a meeting starts.
You can continue once the microphone (and on a Mac, screen) access is allowed.
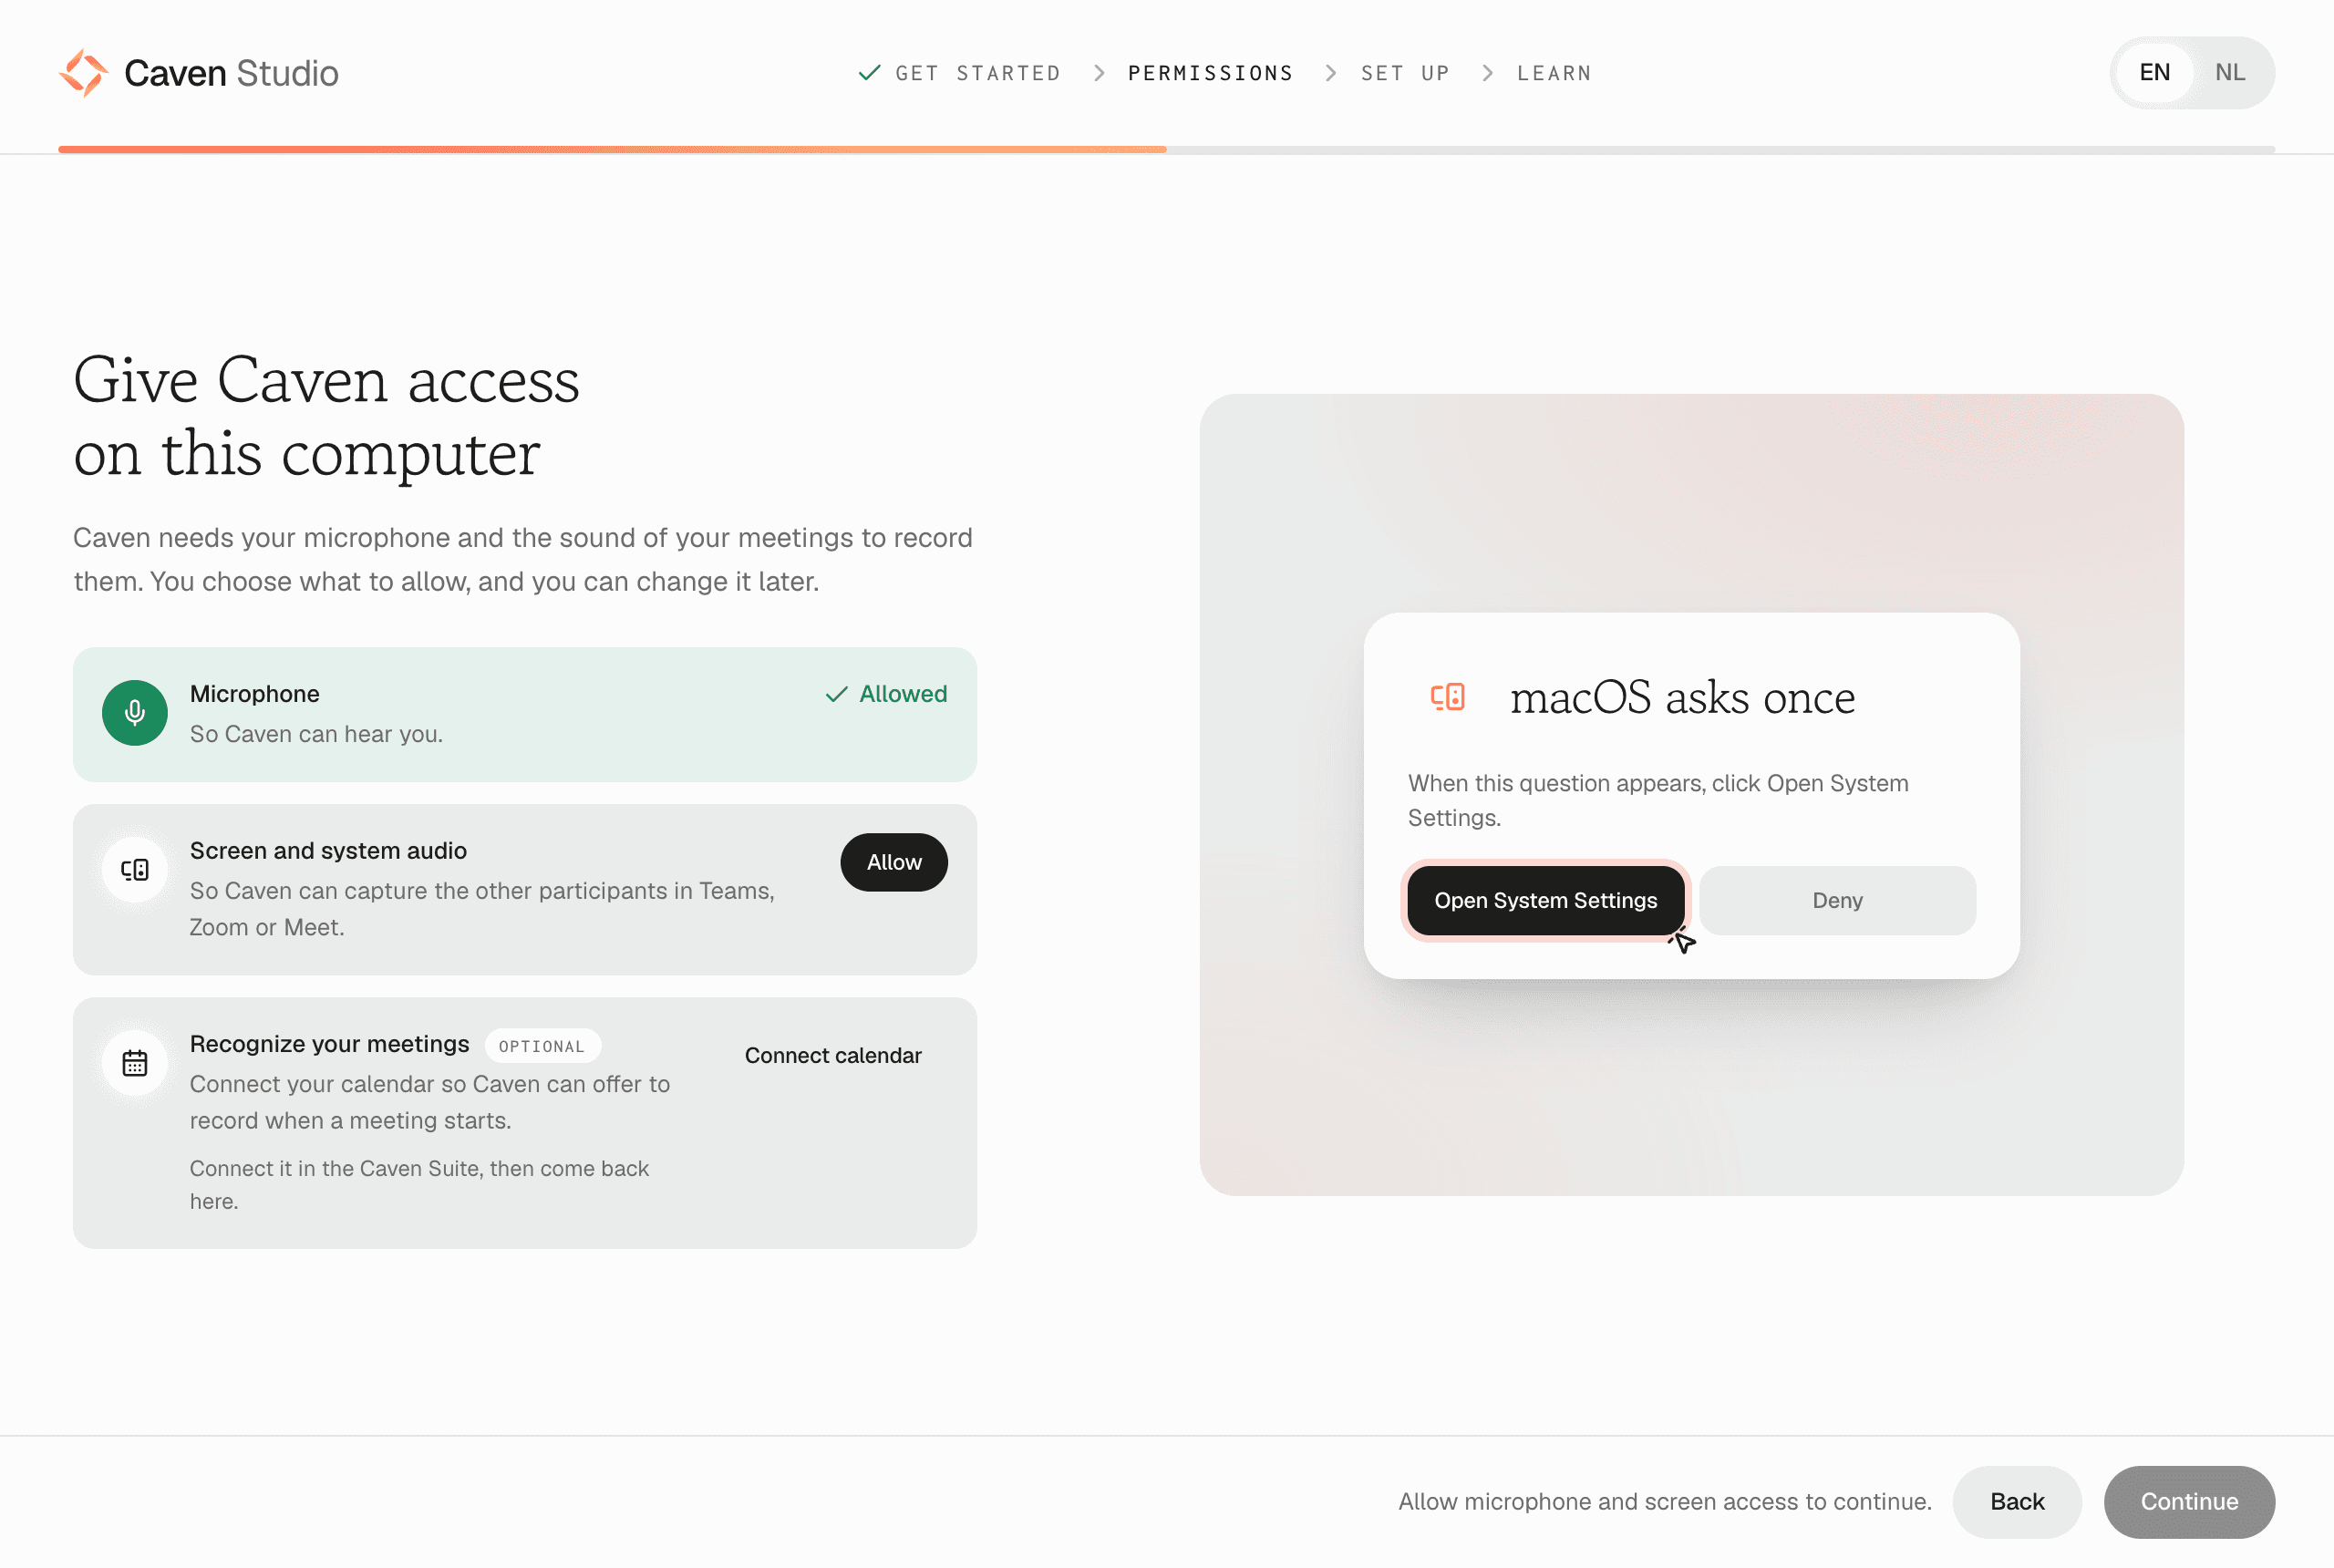 The Permissions step in Caven Studio, with the Microphone and Screen and system audio permissions
macOS: Caven Studio must run from the Applications folder. If you open it from Downloads or the installer window, it offers to move itself there first, so macOS gives the permissions to the right copy of the app.
Later, during a call, Caven Studio may also ask for Accessibility permission on macOS. This is optional and lets Caven read speaker names from your meeting app.
3. Set up
An audio check. Say something until We hear you appears under Your microphone, then play a video or some music until We hear your computer appears under Your computer's sound. Use the Microphone and Source pickers to choose the devices you want Caven to use. You can change both later in the recorder.
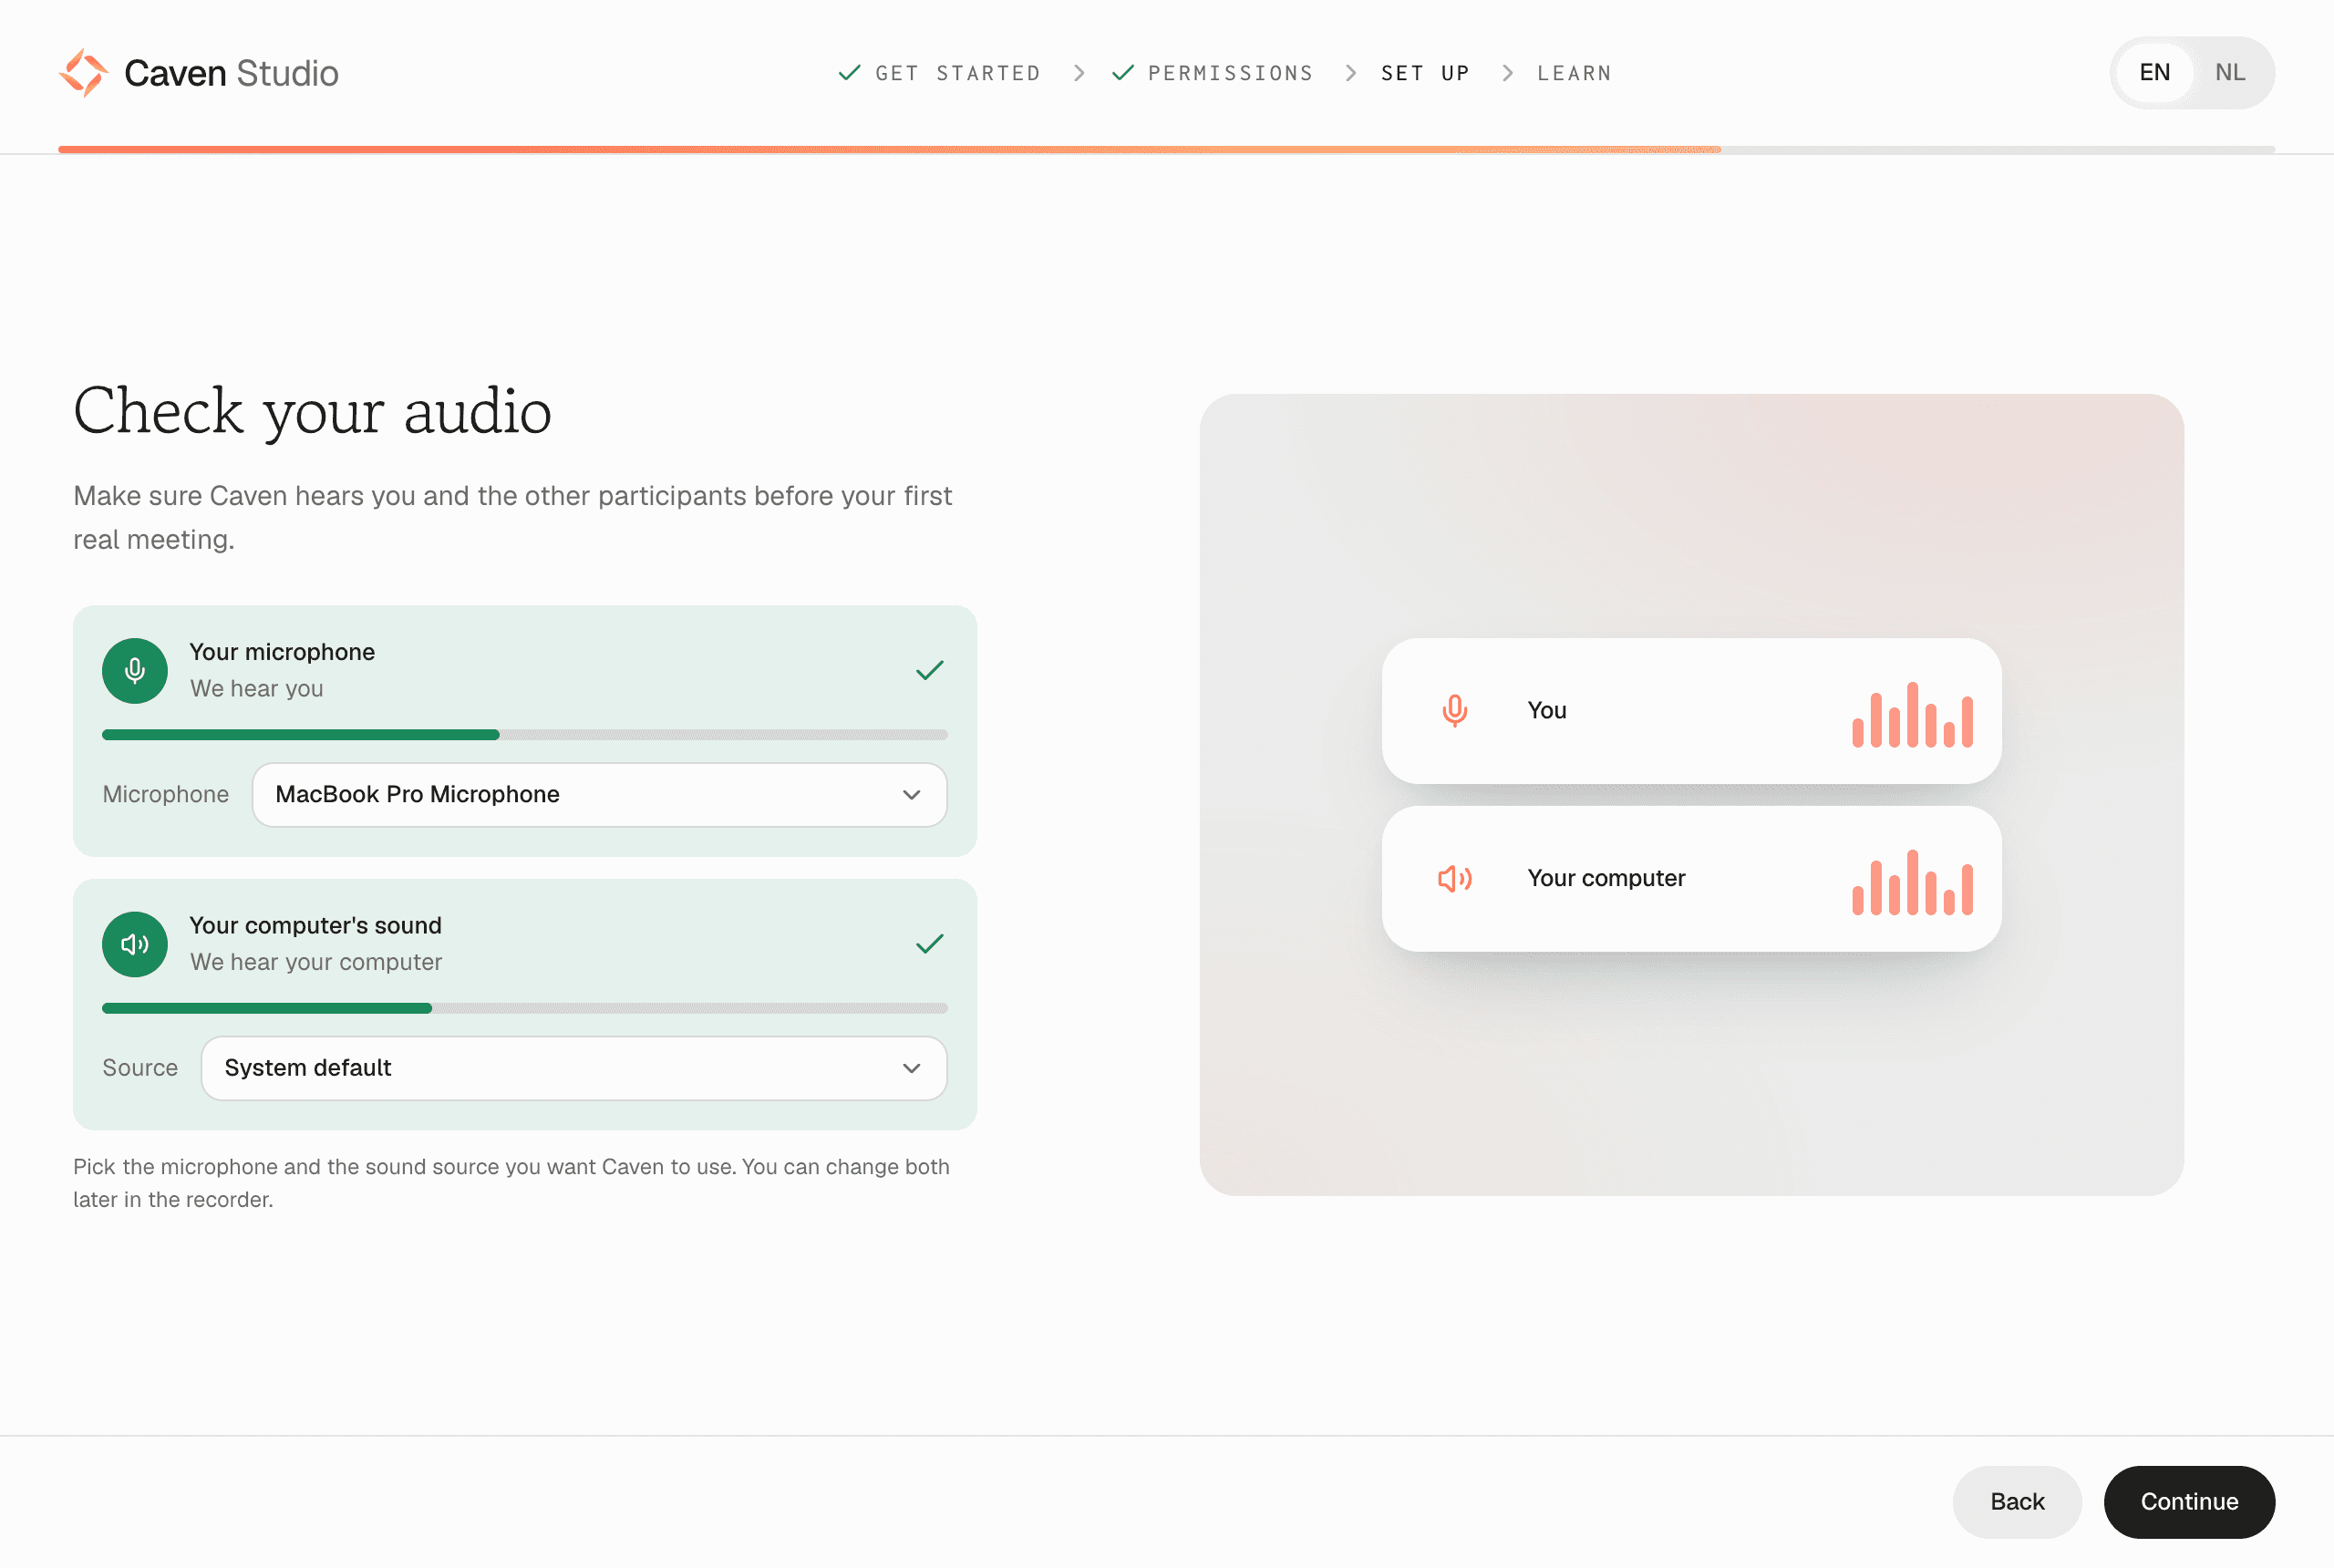 The audio check in Caven Studio, with the microphone picker and level meters for your microphone and your computer's sound
4. Learn
A short tutorial video in chapters: Your recorder, Three ways to start, During a meeting and After the meeting. The video plays in English or Dutch, following the app's language.
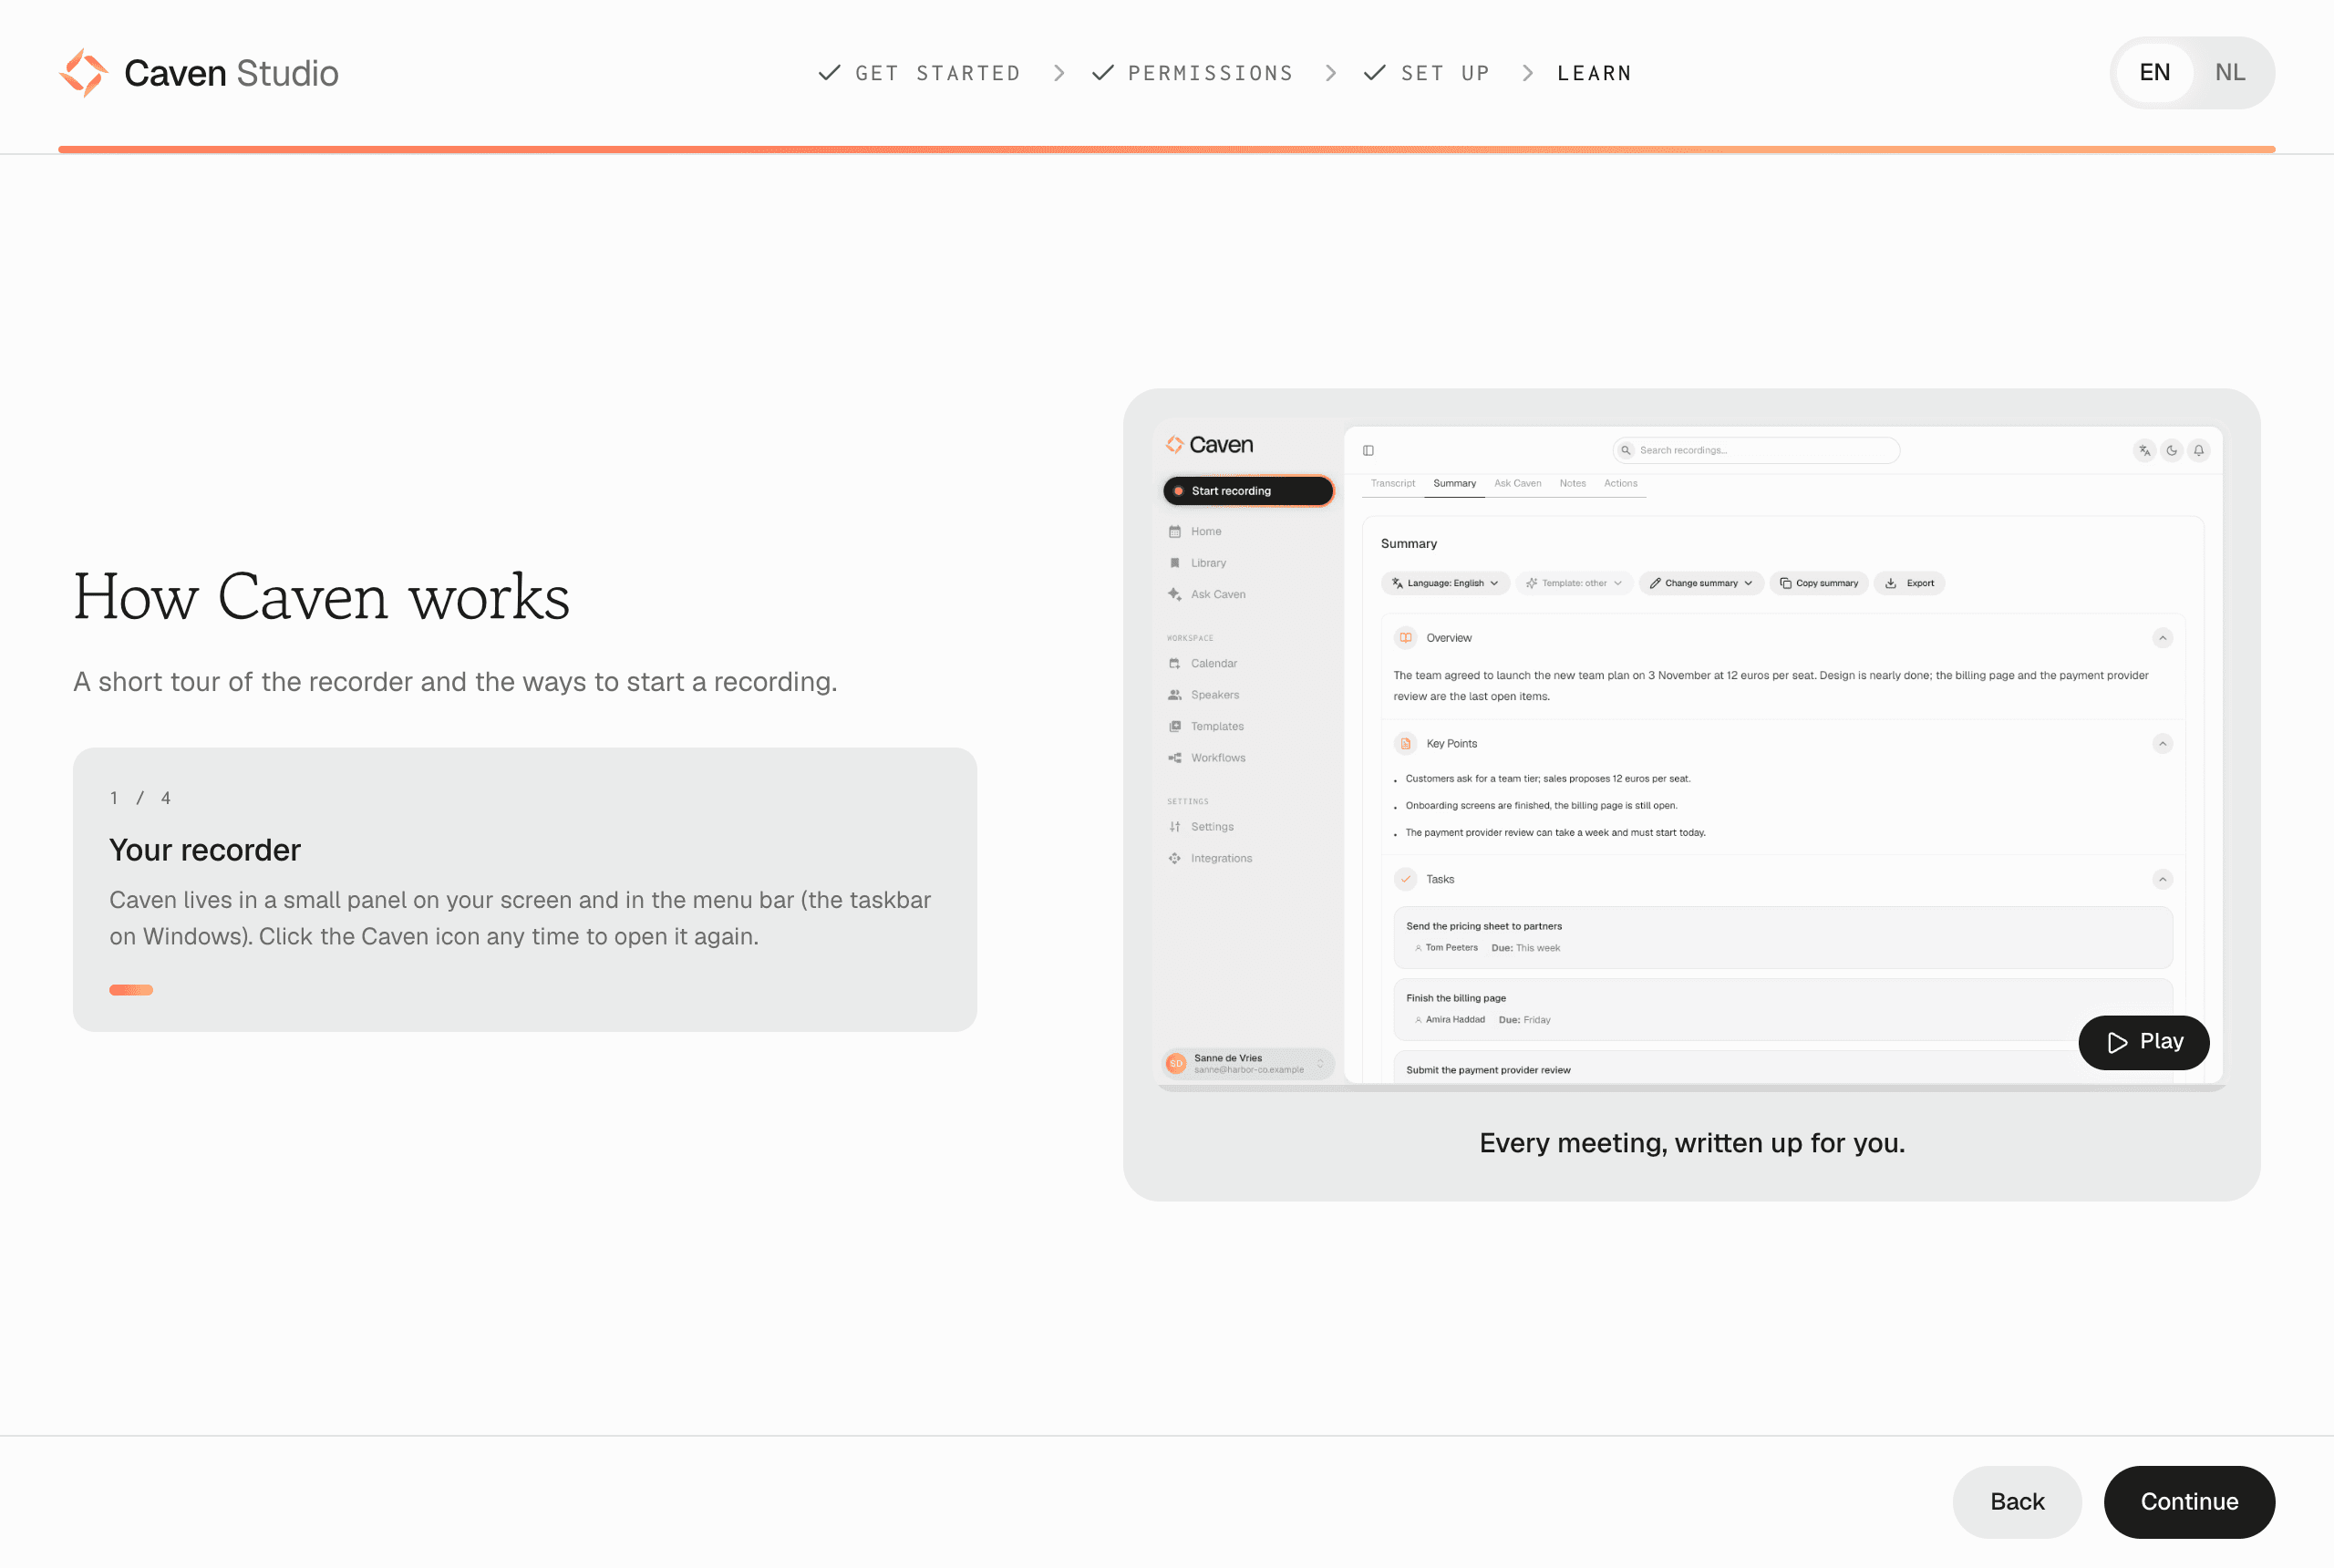 The Learn step in Caven Studio, with the tutorial video and its chapters
The last screen, You are ready, has an Open the recorder button. Caven Studio then keeps running in the background.
If a permission Caven needs goes missing later, Caven Studio shows Caven needs access again with the permission to turn back on.
Changing these settings later
| Setting | Where |
|---|---|
| Interface language | Settings → General |
| Display name | Settings → Account |
| Auto-transcribe, auto-summarize | Settings → General |
| MFA | Settings → Account |
| Calendar connection | Integrations |
| Notify participants | Settings → General → Participant Notifications |
| Desktop app download | Settings → Desktop Application |
| Company details, organization policies | Organization (admins) |
The pop-ups that offer to record when Caven Studio detects a call are not part of onboarding. They are configured under Desktop app settings.